By :
ma-group
Published on Tuesday, July 18, 2017,20:05:15 in WordPress Plugins
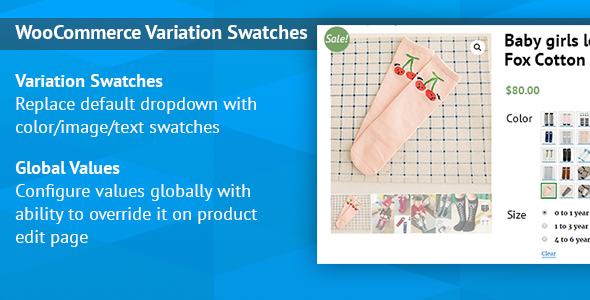
WooCommerce Variation Swatches Images
Convert your normal variable attribute dropdown select to nicely looking color or image select. You can display images or color in all common size.
Main Features
Supports color/image/text variation swatches, radio buttons and dropdown select.
Woocommerce improved variable product attributes and attribute swatches.
Global color or image values for attributes.
Works on mobile devices.
Different sizes of swatch from small to large.
Option to display option name below swatch.
How to Use?
In order to use the colors or photos for your products’ variations, you first need to attach those colors and photos to product attributes:
Global attributes are available for your whole store
Per product attributes are only available for 1 product
Set up colors and photos for global attributes
1. Go to: Products > Attributes.
 2. Create
 a new attribute, or skip this step if you already have one.
3. Click “Configure termsâ€.
 4. Add New Color
 or whatever your attribute is called (or choose to edit an existing term).
5. Select either “Color†or “Image†in the Swatch Type dropdown.
If you’ve chosen color, you’ll be able to click on the color icon and select the color you want to use in the color picker. Alternatively, you can type in the HEX value for the color.

If you’ve chosen image, you’ll be able to upload an image.
 8. Select
 Add New Color.
Add color and image swatches to variable products
Color and photo swatches can only be used for variable products.
1. Create a variable product. Make sure that you select a global attribute or create a custom one in the “Attributes†tab. Also set up the “Variations†tab.
2. Publish your product.
3. Go to the Swatches tab.
4. Select a “Type†for each of the attributes used for the variations.
None. The options will be offered in a dropdown.
Taxonomy Colors and Images. The options of the global attribute will be offered. (Only available for global attributes.)
Custom Colors and Images. You will be able to add colors and image swatches.
Radio Buttons. The available options will be displayed as radio buttons.
 5. Choose whether to add a label or not
 and where to add it, if you’ve selected “Taxonomy Colors and Images†or “Custom Colors and Imagesâ€. This label will display the name of the selected term.
6. Select the size of the swatches if you’ve selected “Custom Colors and Imagesâ€. This will determine how large the swatches will be on the product page.
7. Configure the attribute terms. This is similar to how global attribute terms are configured (see above).
Select the term.
Choose Attribute Color or Image.
If you’ve chosen color, select a color.
If you’ve chosen image, upload an image.
 8. Update
 the product.
How to install the Plugin?
Method 1:
- Download the zip file you receive after purchase
- Install via Wordpress > Admin Dashboard > Plugins > Add New > Upload File
- Press Install
- Activate the plugin
Method 2:
- Download the zip file you receive after purchase
- Extract the contents of the zip file
- Copy the extracted address-autocomplete-gf folder to the //your-wordpress-installation/wp-content/plugins folder
- Activate the plugin from the Admin
Share This Product


